Monday 30 April 2012

Mixed Bunch Blossom Punch

Thought you might like to see some of the cards made on the weekend at my card class.  I always enjoy having people over to share ideas and catch up on what they have been doing and making.

The pink card is the original, and then their variations.  Which one do you prefer?  The punch is the new one from the Autumn-Winter mini catalogue; Blossom Punch.  These photos show how you can use the positive or the negative image of the punch.  Colours are left to right, Regal Rose, Lucky Limeade, Wisteria Wonder, Apricot Appeal and Basic Gray (the last two are retired colours). 


Of course there is a stamp set to coordinate with this punch called Mixed Bunch.  It has three flower images and three different centres to use, and there are some lovely cards on the internet using both.

More soon.  

Friday 27 April 2012

Faux Silk Technique

OK, I know it has been a few days, but I do have an excuse.  Have been busy preparing for a class this weekend and cutting cardstock.  I love it when we get together and create. 

This is a card that we did in a class a few months ago.  The technique is called Faux Silk and there are a few different ways to do it.  My card has a white cardstock background and then on a piece of white tissue paper, slightly larger than your white cardstock, stamp your image.  I used StazOn black ink and then coloured in the image with a blender pen.  After it is dry, scrunch the tissue paper into a tiny ball, unwrap it, and scrunch it again.  Smooth it out a little, but not completely, then with a glue stick put glue all over the white cardstock and place the tissue paper on top, trying not to take out too many wrinkles.  You can either trim the excess off, or tuck it under towards the back. 


I have read also that some stamp the image onto the cardstock backing and then glue the scrunched tissue paper over the top of that, so I guess it depends on whether you want a softer or more prominent image on your card which way you do it.  Either way, it really is an easy and effective technique.  

Enjoy your weekend, I know I will.  


Sunday 22 April 2012

Kaitlin's 18th birthday

This is a family post for Kaitlin's birthday with a few photos.  We had the family here for lunch, and had also invited three of Kaitlin's friends from school as a surprise.  We had to have a cake that had something to do with Skittles, so after trawling the internet I found a rainbow cake that was decorated with Skittles.  On Friday I had the house to myself (a rare occurrence) and cooked.  This is the state of the kitchen at one stage during the preparation.  

  
Actually, that looks pretty good.  Am sure it was worse than that.  I had to make six separate cakes, and only having two cake tins you can imagine how long it took. 

Four down, two to go.  


The final masterpiece!


All lit up, ready to go.  Yes, it was lopsided, but the skewers were there to hold it together in case it decided to slide.


And the best bit, the inside.  


It turned out just like I wanted.  The colours were beautiful, all layers were cooked properly and it stayed together while cutting - it did topple over later when there was about a quarter left though.  I was incredibly happy with the cake and Kaitlin liked it too.  

Not a great photo, but the birthday girl, happy with the final book in the Hunger Games series. 


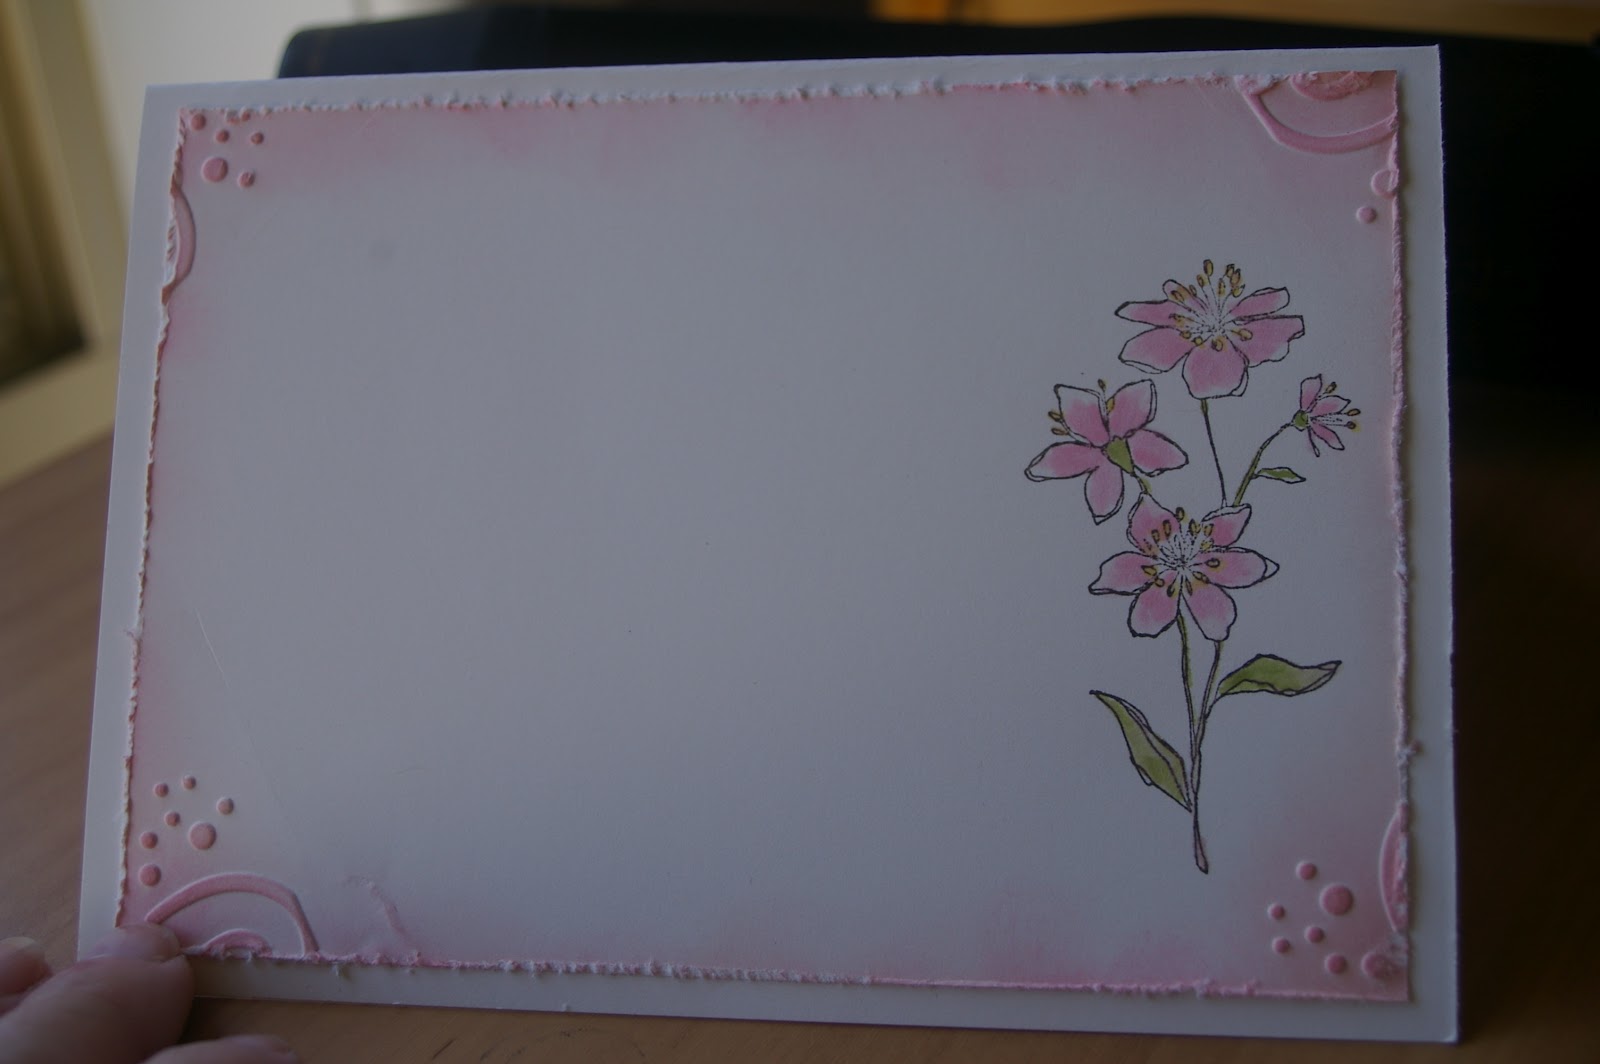
And to justify being here, a few cards. Ours - spent more time on the cake than the card.


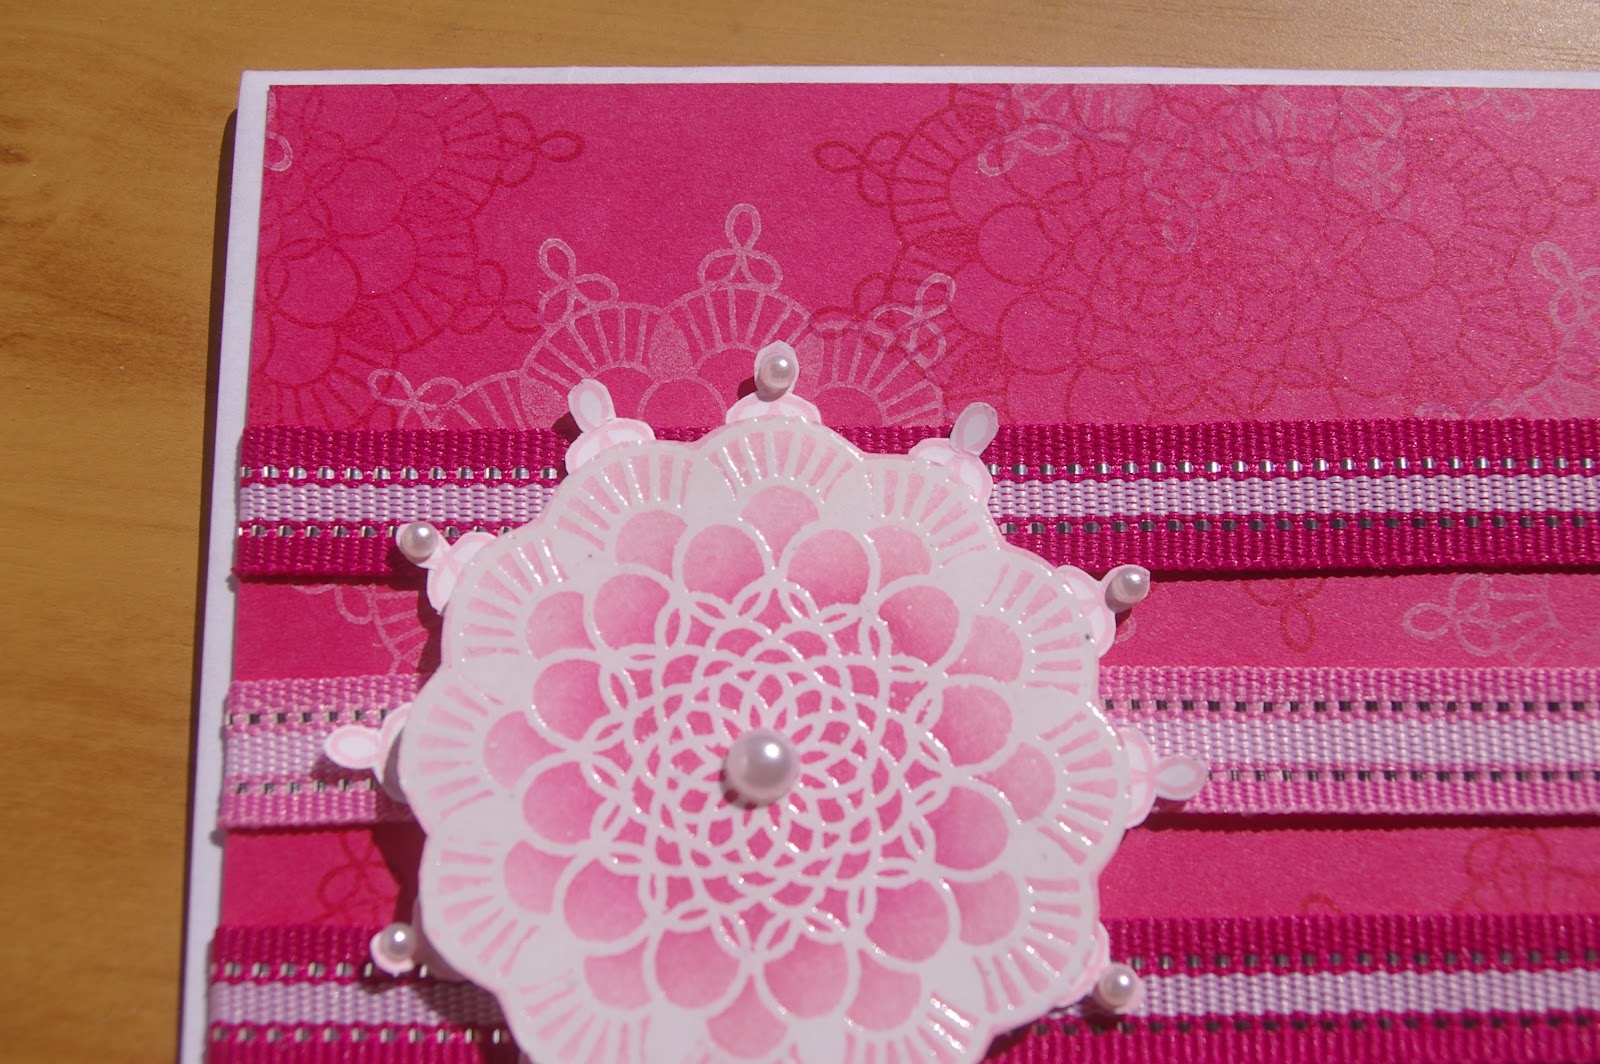
This one was made Grandma 


and this one by Kylie


So sorry for the long post, but we had a great day - it's just a shame my family couldn't have been here too. 


Wednesday 18 April 2012

Simply Soft


This is the birthday card made for a friend of mine who is celebrating her birthday today.  Happy Birthday Linda.  I can show you the card as I know the postman has already delivered it.  

This is my take of a Karen Barber Kreation which I loved when I first saw it.  I tried to find her card to show you, but here is her website.  I am sure you will enjoy trawling through looking at her cards. 

I have stamped the images from Simply Soft with Early Expresso (which I find is better than black) and watercoloured them in various shades of pink, sponged around the edges and then embossed the corners using a new non-SU embossing folder.  I really just wanted the dots, but as you can see on the pink matt I had to have a bit more than originally planned.  The edges of all pieces have been distressed to try to give it a vintage-y feeling, which is helped along with the lacy Victoria Crochet Trim.  I am not normally a fan of distressing (why ruin perfectly good cardstock?), but am very happy with the way this turned out.  After photographing I added a sentiment on the inside of the card, you know, that "just one thing" syndrome.  

This card is made with Very Vanilla and Pretty in Pink cardstock.  Have also made another version in a different colour, which I love as well, but you will have to wait for a while to see that one. 


I may not get back here again on Friday.  Kaitlin is turning 18 on Saturday and there are few things to be made before then.  Have a great weekend, and if you are currently experiencing lots of rain, enjoy it, at least you don't have to water the garden. 

Monday 16 April 2012

Spinner Card Butterfly

Had another attempt at a spinner card and wanted something that went around the entire card.  This one does that, but it's still not what I was hoping for.  The butterfly spins around the top but then drops down, spins again and then slides back up when you tilt the card.  Am thinking I will try one more, this time maybe with a curved arc like a smile, so hopefully it has enough momentum to get back up the other side.  The path line was made with the word window punch, which was reasonably easy. 


When trying new techniques I usually use retired cardstock, so that's why it's blue.  

Friday 13 April 2012

Spinner card

As planned, I got together with relatives yesterday to have a "card day".  Lily, my 5 year old niece, also joined in the fun and had to make some cards with us too.   

I had printed off some instructions and had my first attempt at making a Spinner card.  I wanted to use the rocket ship from the Pun Fun set, and make it zoom across the page.  Well, it certainly moves, but would hate to be an astronaut inside it.  I actually thought it would slide across the card, but this thing spins out of control.  My techie daughter is making a little video so you can watch it move, so hopefully it works.  


Feeling sick yet?  Hopefully it stops spinning after a while.  Am going to have another go and will try and make something that goes around a whole card.  Will let you know if it works out. 


Wednesday 11 April 2012

One more from The Open Sea

I had to wait until after the birthday to post this, cause I know his wife looks on here regularly, but hopefully the card has arrived by now. I have this bad habit of making cards in time, but then forgetting to put them in the post so I end up being late. I have to get more organised!

Even though we can't get this stamp set from the Summer mini catalogue any longer I will be very surprised if it doesn't make it into the new catalogue out later this year.  We all struggle with male cards and The Open Sea is perfect for men.  The recipient of this card lives by the beach and is into water activities and boats, but the more modern version.  


I'm going to a stamping day with friends on Thursday and then again on Friday, so hopefully will come back with new cards and ideas to share.


Monday 9 April 2012

Delicate Doilies Part 2

Hope you are all enjoying your Easter weekend.  We had a spectacular storm last night with lots of lightning and very heavy rain, about 35 mls, and this morning it is beautiful and sunny with a cool breeze.  Apparently we may have another storm tonight too. 

Over the weekend I had another play with the Delicate Doilies stamp set and below are two new cards to show you.  

The blue card is embossed in silver and parts of the main circle have been coloured in using Marina Mist and Lucky Limeade.  Have matted both pieces with some silver cardboard I found in the cupboard. And to finish off have added a bit of bling in the centre of the circle. 


Even though pink if not my favourite colour, I don't mind this card.  I have a stack of ribbon stashed away, both SU and non-SU, so this was a good way to use some up.  The background  has been stamped with Melon Mambo and Whisper White on Melon Mambo cardstock.  The bottom layer of the motif has been inked in Pretty in Pink and the top layer embossed in white and sponged with Pretty in Pink ink with pearls added this time. 


Friday 6 April 2012

Patchwork patterns

I was trawling the internet the other day when I found a card that made me think of my sisters.  As some of you know one of them is a patchwork queen, so as I'm not good with the sewing stuff I had to give the paper version a try.  The original card was from here by Roz Begbie.  Roz had used some papers that have now retired, and as I had the same papers I did a direct copy.   


Then I decided to try a pink version.  I like the pink better with the white border.  Which do you prefer? I know they both need 'something' like a tag to finish them off, but it's such a beautiful day outside and I have a lounge chair and a book calling my name.  

Happy Easter, and enjoy your weekend.  


Wednesday 4 April 2012

Delicate Doilies

Delicate Doilies is a stamp set I fell in love with when I first saw it, although I haven't really used it as much as it deserves.  There are also beautiful Flirtatious Designer Series Papers to match, and for those who enjoy sewing, there are three fabrics available as well.  

These two cards are very similar in design and use  the Flirtatious papers in Melon Mambo and Wisteria Wonder.  The top motif has been stamped in VersaMark and embossed in white embossing powder. 


If you are interested in having a look at this set, the papers or fabrics, check out page 90 of the main catalogue.  

Monday 2 April 2012

Easter basket with Skittles

I know I should be showing you stuff from the new catalogue, but instead I thought you might like to see a cute little Easter basket.  This is so simple to make.  It starts as a 6 inch square which is then scored at 2 inches each side, then scored on the diagonal in each corner (only in the corner, not through the middle).  Punch around the edges of the square with your favourite border punch and decorate the sides.  You then punch a hole in each corner, fold it into a box with each corner being drawn into the middle to make four little compartments.  Then thread ribbon through the holes.  For an Easter basket I guess you would have thought there would be some little eggs in there, but as we didn't have any in the house when I went to photograph this, Kaitlin, our resident Skittle Queen, kindly volunteered some of her supply, provided I didn't eat too many.  

When I make these again I think I would make them slightly larger so they can hold a couple of little eggs each side.  And not eat so many Skittles either!  Only kidding.  I only had one. 


Sunday 1 April 2012

New Autumn-Winter Mini Catalogue

Today is the first day you can order from the new Autumn-Winter Mini Catalogue.  There are lots of new things available; three different sets of beautiful Designer Series Papers, stamp sets that coordinate perfectly with them, pleated satin ribbon in Pear Pizzazz, Riding Hood Red, Blushing Bride and Baja Breeze with cute little buttons in Blushing Bride and Baja Breeze, a set of two different Edgelit Dies for the Big Shot, a set of three coordinating Embossing Folders, a set of six Framelits Dies and for those people who love new gadgets Stampin' Up have bought out their own Simply Scored scoring tool.  So there is something for everyone.  Have a look at the catalogue, and if I can help you with anything please drop me a line.  Happy Sunday.