Thursday 29 October 2015

Another birthday

While my friend was away travelling around Africa, she kindly loaned me some of her dies to have a play with.  The card below is made with Spellbinders A2 Curved Borders One and although quite tricky to line up, I was happy with the end result.  

I added a Stampin' Up butterfly die and then found a die cut happy birthday to finish it off, so no stamping on this card.  These borders would make a beautiful wedding card, so maybe .....


Tuesday 27 October 2015

Triple time Birthday

I almost forgot to blog this week, just remembered this morning.  

Have had a bit of a busy card week this week with a few birthday cards that needed making.  This is my sister's card.  She loves purple, burgundy and the deep reddish colours, so that makes my colour choice a little easier to decide.  This one is Rich Razzleberry and uses the triple time stamping technique.  There were a lot of flowers to colour after using this stamp so I decided to keep some uncoloured to save time, and I think it makes the others stand out better too.  

These type of cards take a while to cut out the different layers, but once stamped, it puts together beautifully.  


Thursday 22 October 2015

More wedding cards

I think these are the last wedding cards I have to show you.  Who knows what will be next.  

The first card is very similar to one I have made before and uses a few more bits and pieces from the retired Embellishments Artisan kit.  I just love the lace that this kit had.  It's just so beautiful, and I hesitate to use it in case what I make is not worthy of it!  Hopefully I have done it justice.  


After I finished the card, I realised that I couldn't put it with a white envelope, and as I didn't have any kraft coloured envelopes, I had to make my own.  I would have thought this would have been a relatively simple job, but after spending ages trying to find the "right" paper, I then had so much trouble trying to find the right size on my envelope maker.  There were sizes just a bit too long and then just a bit too small, a bit like Goldilocks and the Three Bears tale. 
So in the end I just wrapped found an old bit of paper, wrapped the card around it and then used that to make my own template.  I'm sure there was an easier way, but I got there in the end.  Note to self: next time use a standard size card to start with. 

This last card is the one I chose to give my neighbour who recently married.  Lots of sponging on here, and Gorgeous Grunge stamp set helped with the background. 


Tuesday 20 October 2015

Wedding Cards Part 3

Are you sick of wedding cards yet?  I am a little over them, for now.  But as nothing much else has been made for a while, here they are.  

This one looks really pretty IRL, much better than the photo.  It's based on this card here by Lesley, but I couldn't find her blog.  

I chose to use Everything Eleanor again, but kept the rest of the card pretty much the same as her original one but I used Smoky Slate as my colour scheme.  The sentiment comes from Label Love, a set I haven't really used much sadly.  And in my ribbon stash there just happened to be a small piece of silver/grey taffeta ribbon.  Bonus! 


Don't you love those beautiful embossed edges? Delicate Designs Textured Impression Embossing Folder.  Still on the Clearance Rack for $9-59 instead of $15-95 if you need them.     Delicate Designs Textured Impressions Embossing Folder


While looking for ideas in Pinterest, I came across lots of different versions of this card.  I found a template on this website here from Polina.  The design of this card needs to be a two fold one as it opens in stages.  

My card uses a piece of cardstock approximately 26 x 15 cms.  Score at 10.5 and 21cm and these are the back two sections.  The front panel (the shorter one) has the wedding dress stuck on it over the edge.


The next layer has the tuxedo part (make sure you line them up before gluing down).  

And the inside with the sentiment.  
 

 I sprayed my wedding dress cut out with shimmer mist, so it is very sparkly, and yes, there are now sparkles all over the card!

Thursday 15 October 2015

Wedding Cards Part 2

I should have actually put this card up first as it was the first one I made.  I now think it looks a little .... ?simple/plain compared to some of the others, but will see whether my customer likes it or not.  

This is done in Real Red with some DSP for a border and the Starburst framelits die.  The background is stamped using Baroque Motifs in VersaMark for a bit of interest on the red, but it doesn't really show up in the photo.  I found another old stamp for the sentiment, having to delete the word "Day" cause they may actually get the card before or after the wedding, and I like things to be correct if I can.  Added a few flowers and some bling to finish it off.  


My next card is another one I am not quite sure about.  This one is made using Pool Party and is loosely based on this one here from Sabrina.  After I had scored the front panel and matted it on white it then took ages to find the "right" ribbon.  It still looked a little overwhelmed on the front of the card, so I went hunting for something else to add and found this little flower that I thought did the job.   


Still a few more to come.

Tuesday 13 October 2015

A week of weddings

Well, not really.  But it just sounded quite good.  But you will be subjected to wedding cards for a few weeks.  

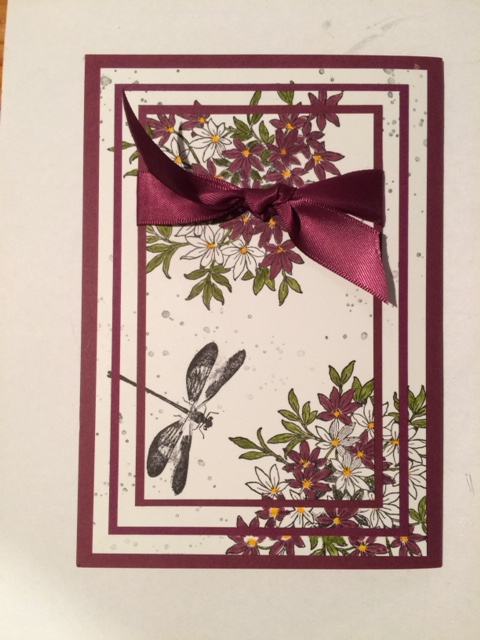
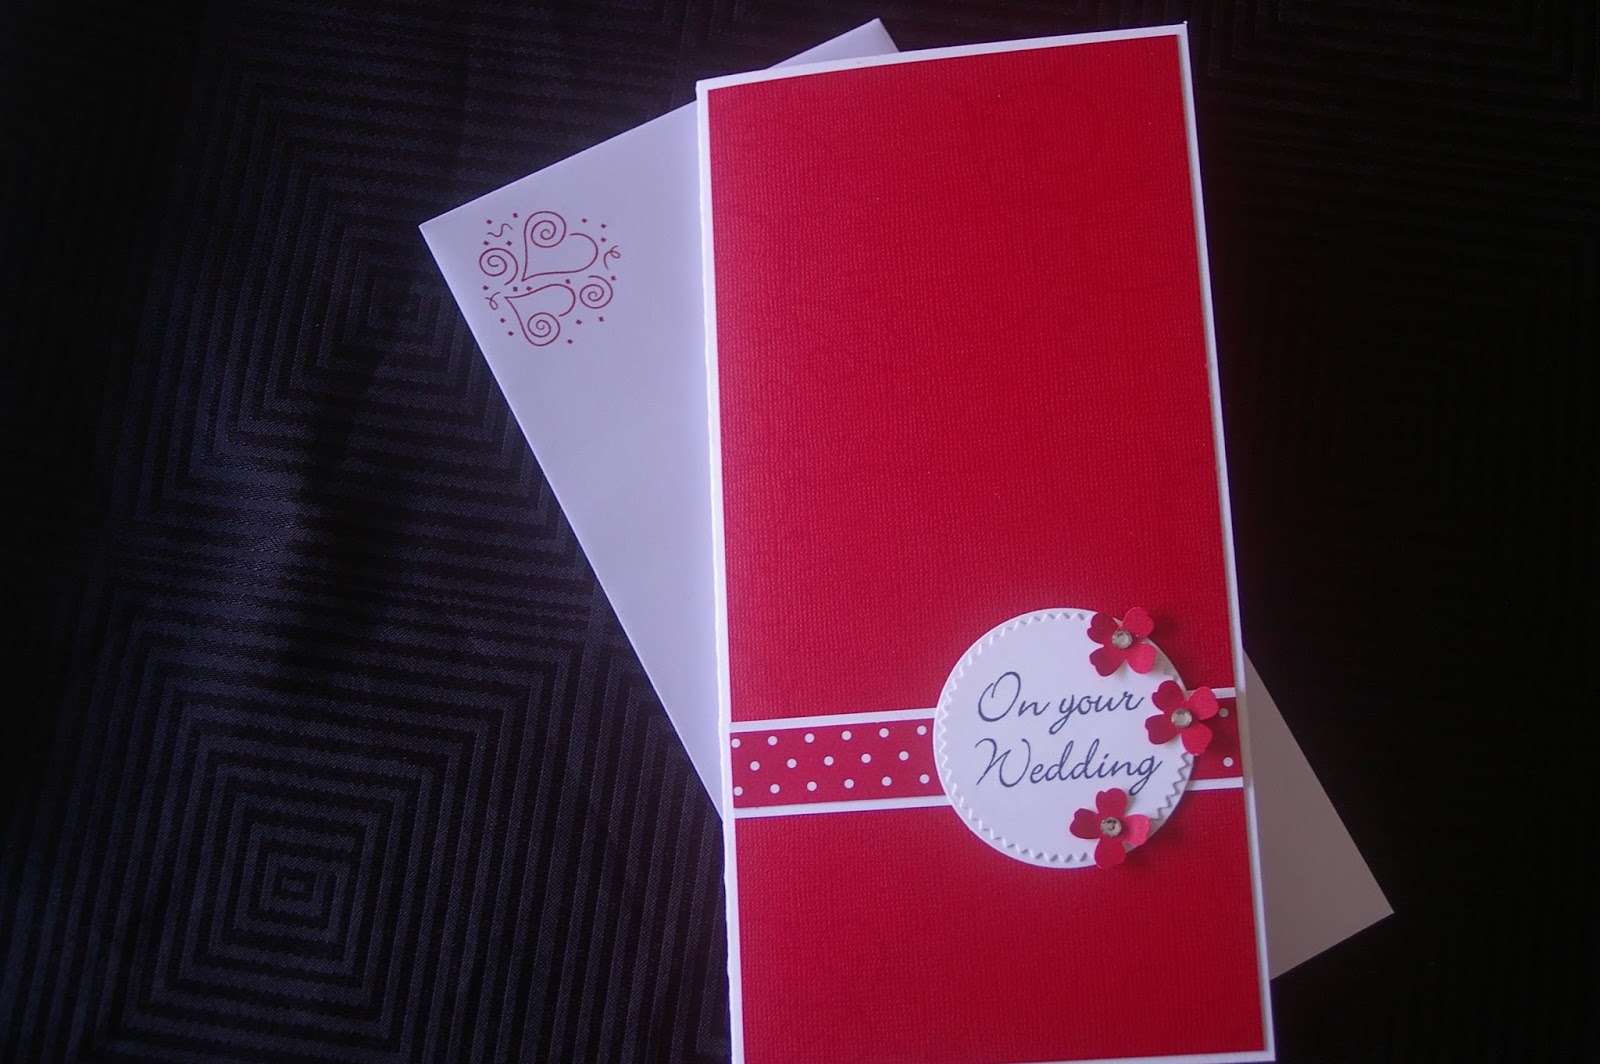
I had a lady ask me to make her a couple of wedding cards this week, so over the weekend I concentrated on a few different designs so she would have a choice.  She asked for two cards, with a colour choice of purple and red - a little out of my comfort zone for weddings.  However, ...

This is my warm up card.  It's actually done in Soft Sky as I quite like pastels for wedding cards.  It uses my old favourite Baroque Motifs stamped in Soft Sky and sponged around the edges.  The Congratulations is done with a Hero Arts stamp, another old favourite.  There are some things I just can't give away.  Back to the card, it has lots of layers on the front, black, white and top Soft Sky.  I pin pricked around the edges and also gave them a sponge.  Add some seam binding ribbon (I love this ribbon - it's so easy to tie bows) and the sentiment, and then to the inside.  


Now as the card was already a few layers thick, I just used one layer inside, but drew around the edges with a black texta for the illusion of a black layer underneath.   Was hoping the whole time I was doing this that I didn't slip and have to start again.  Fortunately, no slips.   Even the envelope got a bit of stamping.  
 

Now back to purple, or Elegant Eggplant to be exact.  Once again, a few layers on here.  Doesn't really show, but the first layer was shiny silver cardstock followed by a white layer stamped with that beautiful flourish from Everything Eleanor and then the greeting from Big News (another retired set that gets a workout around here), embossed in silver.     


And the inside, once again embossed in silver with another Eggplant  flower attached. 
 

 More to come ....


Thursday 8 October 2015

Baby Girl Overalls Card

As promised, here is my girly version of the overalls card made earlier in the week.  Of course it had to be done in pink, even though I try to avoid doing the obvious.  


 The inside view of the cards - 


On the off chance that you would like to have an attempt at making one of these types of cards, I have tried to draw a template to help you out.  

The cards are made using an A4 sheet of cardstock cut longways down the centre.  If you're good at maths, you may notice that my measurements across don't always add up to 10.5 cms, the width of the card.  I started out cutting to these sizes, but as with a lot of what I make, it needs to be "tweaked" slightly at the end.   Use it as a rough guide, and if you need any help, let me know.  Email or comment is equally fine.  And if you do make an overall card, I would love to see how it turned out.  I have a feeling that these two won't be the last ones I make. 


Tuesday 6 October 2015

Baby cards

I'm sure you've seen lots of these cards around, especially on Pinterest.  This card would be perfect to give someone who has just had a new baby, or I'm sure it would also be suitable to use as a birthday card for a small child.  

Ever wondered how easy they are to do?  OK, well, they're not hard, but the first one takes a bit of working out.  


I found a pattern from a fellow demonstrator Wendy Hawkinson, but after realising that the measurements were suited to an American sized card, and wasting more time looking for an Australian version, I ended up using her pattern as a guide and making up my own template.  Wendy had two separate pieces; one for the overalls and another for the T shirt.  I combined both together and then stuck patterned paper on the top layer, and left the T shirt part underneath white.  

The straps over the shoulder were cut with a separate piece of patterned paper so that I could add it separately on top.  For the buttons I just punched out some circles and smothered them in Glossy Accents.  As they were drying, I thought I should have perhaps added an extra circle layer and perhaps stitch holes to make them look better, but too late.   The stitch lines around the overalls were drawn by hand to finish it off a little better.  

The card opens upwards so you can write your greeting inside.  

Of course I also made the girl version too, so pop back Thursday to see.  I'll also try to make up a pattern if you want to give it a try. 


Thursday 1 October 2015

Wedding cards

I was asked recently to make a wedding card for a friend, and her request was "not a normal sized card but a bit bigger, so I have more room to write".  

So this card is bit enough to fit in a DL envelope.  I bought a couple of the Artisan Embellishments Kits from Stampin' Up when they were on special a while ago and have never had the courage to use them - everything in it is just so pretty that I don't want to ruin it.  Stupid right?  

So hopefully I have done this kit justice with my card.  I used the lovely flourish from Everything Eleanor in the background, and then the heart shaped cardboard that the ribbon is wrapped around was used.  It's quite hard to see as both the hearts and the base cardstock are both Crumb Cake.  Added some of the beautiful lace ribbon, as well as Crumb Cake seam binding ribbon and a tag with a beautiful flower button.  

Quite happy with the way this turned out.  There's something just right about Crumb Cake for weddings. The only thing that bothered me was that I didn't have a cream or crumb coloured envelope, and had to use a white one instead.